How to Fix Blurry Images Before Merging JPG Files Online
You’ve taken some great photos maybe vacation shots, scanned documents, or product images for a project. Now you want to merge them into one JPG file. But when you do, the final result looks soft, fuzzy, or just plain blurry. Sound familiar? That’s frustrating, especially when the originals looked fine on your phone or computer.
The good news is that with a few easy steps, you can fix blurry images before merging JPG files. And no, you don’t need expensive software. Let’s walk through why this happens and exactly how to prevent it.
Why Do JPG Images Become Blurry?
When I first tried merging photos, the results were all blurry. It was quite frustrating, but it can be easily fixed with just a few simple settings.JPG is what’s called a “lossy” format. That means every time you save or edit a JPG, it loses a tiny bit of quality to keep file sizes small. Over time, this adds up.
But blurriness usually comes from three things:
- Resizing issues – Stretching a small image to fit a larger space makes it pixelated or soft.
- Compression – Too much compression removes details, leaving edges looking smudged.
- Poor original quality – A blurry source image will never magically become sharp after merging.
When you merge JPG files online, most tools recompress everything again. If your starting images are already borderline, the merged version will look even worse.
5 Ways to Fix Blurry Images Before You Merge Them
1. Start with the Highest Resolution Originals
If you have the choice, always use the largest version of your image. A photo taken at 12 megapixels gives you room to downsample later. A tiny 500px thumbnail will look terrible when merged alongside high-res images.
Check your image dimensions before merging. On Windows, right-click > Properties > Details. On Mac, right-click > Get Info. Look for width and height in pixels. Anything below 1000px on the shortest side is risky for sharp merges.
2. Use Free Sharpening Tools Before Merging
You can sharpen a blurry JPG before merging, but don’t overdo it. Free tools like GIMP, Photopea (runs in your browser), or even your phone’s built-in editor work great.
Here’s a simple workflow:
- Open the blurry image in a sharpening tool
- Apply “Unsharp Mask” or a simple “Sharpen” filter
- Stay subtle 10-20% strength is often enough
- Save as a new JPG (quality 90% or higher)
This won’t fix a completely out-of-focus photo, but it cleans up mild softness caused by compression or resizing.
3. Convert to PNG Before Editing (Then Back to JPG)
Here’s a trick most people don’t know. When you edit a JPG directly, you’re recompressing an already compressed file. That’s a recipe for blur.
Instead: convert your blurry image to PNG first. PNG is lossless, so no quality is lost during editing. Sharpen it, adjust contrast (which can make edges appear sharper), then export as a high-quality JPG before merging.
Tools like GIMP, Paint.NET, or even online converters can do this for free.
4. Avoid Automated “Enhance” Buttons on Merge Tools
Many online merge tools offer a one-click “enhance” or “auto-fix” button. Sounds helpful, but it often oversharpens or adds noise. That actually makes the final merged JPG look worse.
If you need to fix blurry images before merging JPG files, do it manually ahead of time. Then use a merge tool that doesn’t recompress heavily. Which brings us to…
5. Match the Resolution of All Images Before Merging
Mixing a 3000px wide photo with a 600px wide screenshot is a disaster waiting to happen. The merge tool will either stretch the small one (blurry) or shrink the large one (wasted quality).
Best practice: resize all images to the same width before merging. Pick the smallest width among your images as your target. For example, if one image is 800px wide, resize all others to 800px wide using a good resampling method (like Bicubic in Photoshop or Lanczos in GIMP).
Best Settings for Merging Without Losing Quality
When you’re ready to merge, follow these settings for the sharpest result:
- Output format – JPG at 90-95% quality. Anything above 95% is overkill and creates huge files. Below 80% will introduce blur and artifacts.
- Image order – Arrange manually. Don’t let the tool auto-sort unless you check it first.
- Canvas size – Match the widest image’s width, then stack vertically or in a grid. Don’t let the tool “auto-fit” everything into a tiny canvas.
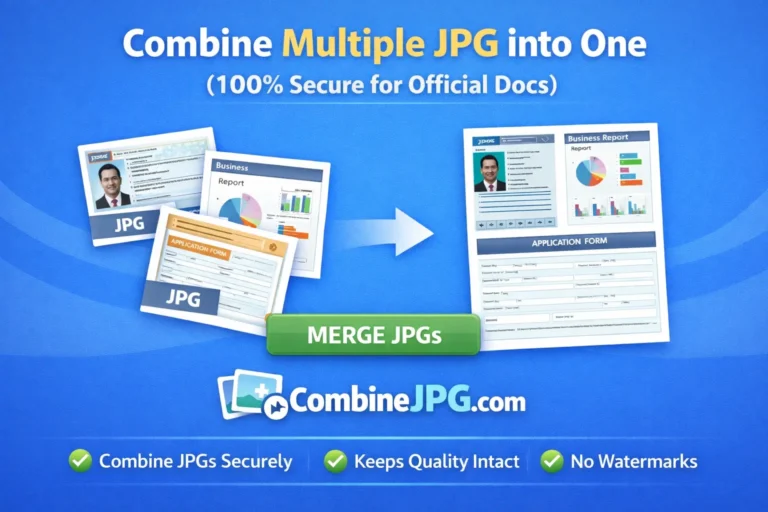
Also, use a merge tool that lets you control compression. Combinejpg.com is a solid choice because it keeps your original quality intact during merging no surprise recompression.
Common Mistakes to Avoid
Mistake #1: Fixing blur after merging
You can’t un-blur a merged JPG without starting over. Always inspect each original image before hitting merge.
Mistake #2: Using screenshots as source images
Screenshots are often already compressed and low-res. If possible, use the original files or exports from the actual app.
Mistake #3: Ignoring file names
When you have 20 images named “IMG_0001,” it’s easy to accidentally include a blurry draft. Rename your images clearly before merging.
Mistake #4: Over-sharpening
Too much sharpening creates halos around edges white or dark outlines that look fake and ugly. Less is more.
Mistake #5: Merging in the wrong order
If a blurry image sits between two sharp ones, the contrast makes the blur stand out more. Put the softest images at the very top or bottom where they’re less noticeable.
Conclusion
Blurry merged files don’t have to ruin your project. By learning to fix blurry images before merging JPG files starting with high-res originals, sharpening carefully, and matching resolutions you’ll get clean, professional results every time. Next time you need to combine several JPGs into one, try combinejpg.com for a simple, quality-friendly merge. Your eyes (and anyone viewing your images) will thank you.
FAQ
Can I un-blur an image after merging JPG files online?
No, not really. Once multiple JPGs are merged and recompressed into a single file, the original data for each image is gone. Any “un-blur” tool would just be guessing and usually makes it look worse. Always fix blurriness before merging.
Do all online merge tools make images blurry?
Not all, but many do. Free tools often recompress images aggressively to save server space. Look for merge tools that mention “lossless” or “original quality preserved.” And avoid tools that automatically resize your images without asking.
What’s the fastest way to check if an image is too blurry to merge?
Zoom in to 100% view on your computer. If you can’t read small text or see clear edges on objects (like leaves or building windows), it’s too blurry. Sharpen it first or replace it with a sharper version. One blurry image in a group of ten will ruin the whole merged file.