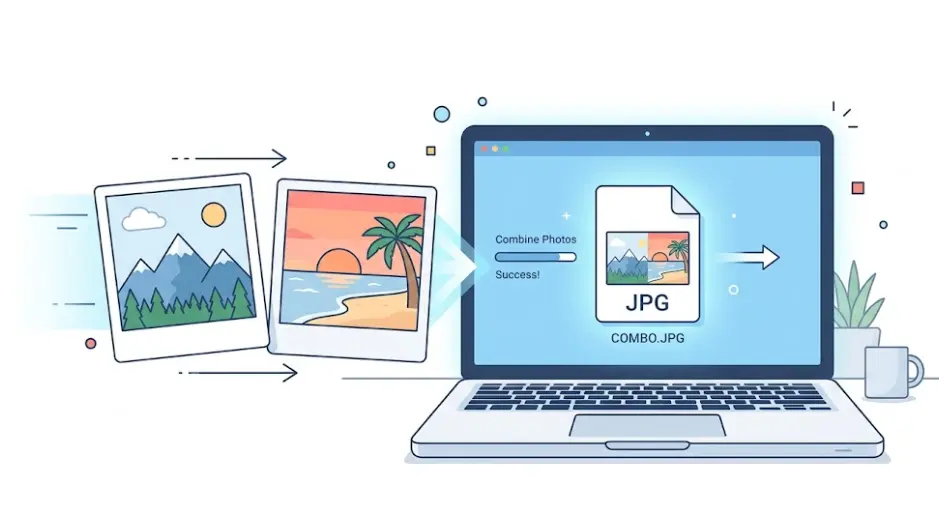
How to Combine Two Photos Into One JPG Online -Free, Fast & No Signup (2026)
Ever tried to send two photos but needed them as one file? You snap the perfect before-and-after shot of your living room makeover. Or you’ve got two screenshots from a conversation that only make sense together. Then you hit send and they arrive as separate files. Your friend has to tap back and forth. Your client asks, “Which one first?” Your boss replies, “Can you put these in one document?”
Annoying, right?
The good news: you don’t need Photoshop, a degree in graphic design, or a paid subscription to fix this. In fact, you can combine two photos into one JPG online in about fifteen seconds. No software to download. No watermark. No “create an account to access your files” nonsense.
Tools like CombineJPG.com exist for exactly this moment. You upload two images, pick a layout, and download a single JPG. Works on a $200 Chromebook. Works on an iPhone 12. Works on that old Windows laptop you’re scared to update.
This guide walks you through everything: why you’d want to merge images, exactly how to do it (with screenshots in words), which layout works best for your situation, and tips to make the final photo look professional. Plus a full FAQ so you don’t have to Google “why is my merged photo blurry” at 11pm.
Let’s kill the two-photo headache for good.
Why Would You Need to Merge Two Photos Into One JPG?
Before jumping to the “how,” let’s talk about the “why.” Because once you realize how often this comes up, you’ll wonder why you didn’t start doing it years ago.
Before-and-After Comparisons
Fitness transformations. Home renovations. Weight loss progress. Skincare results. Haircuts. Beard trims. Garden overhauls. Any time you want to show change, a single image with two photos side-by-side tells the story instantly. No one wants to swipe between “before” and “after” tabs. Put them together, and the contrast hits all at once.
Job Applications & Portfolios
HR managers spend an average of seven seconds on a resume. If you’re a photographer, designer, or architect, attaching two separate portfolio images forces them to open multiple files. Merge your best two shots into one JPG, and you’ve just made their job easier. Same goes for before-and-after work samples in trades like flooring, painting, or landscaping.
School Projects & Assignments
Teachers ask for “two images that support your thesis.” Students upload two files. One gets opened. The other gets forgotten. Or worse, the file names don’t match, and the TA marks points off. Combine diagrams, combine screenshots of data, combine a photo of your whiteboard sketch with the final result. One file. One grade. No confusion.
Social Media Collages
Instagram still limits carousel posts to ten images, but sometimes you only need two. A side-by-side comparison post fits perfectly in a single square. Pinterest boards love merged “pin two ideas together” images. Facebook groups for home decor? Stacked before-and-after photos stop scrollers cold.
Real Estate Listings
“Living room before staging” and “living room after staging.” “Floor plan” and “actual photo.” “Exterior summer” and “exterior winter.” Real estate agents who combine two photos into one JPG get more saves because potential buyers see the full story without clicking through a gallery.
Etsy & Shopify Product Photos
Sellers on Etsy know the struggle: you have six photo slots, but you need to show color options, scale, and details. Merging two photos into one JPG frees up slots. Show the necklace on a model and the necklace on a white background in a single image. Show the mug from the front and the handle detail side-by-side.
Travel & Memory Keeping
You took a panorama that’s too wide. Or you have a photo of the sunset and a photo of your friend pointing at it. Merge them. Print one 4×6 instead of two. Send one photo to grandma instead of two separate texts she won’t know how to save.
Receipts & Documents
Scanning two pages of a receipt? Need to send both sides of an ID? Combining pages into one JPG keeps everything together. Landlords, insurance adjusters, and expense report approvers will silently thank you.
How to Combine Two Photos Into One JPG — Step by Step
Here’s the part where most guides get cute with five paragraphs of fluff before telling you anything useful. Not this one. Follow these four steps, and you’ll have your merged image in under a minute.
Step 1: Go to CombineJPG.com
Open any browser — Chrome, Safari, Firefox, Edge, Brave, whatever you use. Type Combinejpg.com into the address bar and hit enter.
That’s it. No homepage maze. No “sign up for our newsletter” popup. No “enter your email to unlock premium.” The tool loads instantly. Bookmark it if you’ll do this more than once.
Step 2: Upload Your Two Images
You’ll see two large upload boxes or a drag-and-drop area. Tap “Upload” or drag your first photo into the left box. Drag your second photo into the right box.
Supported file types: JPG, JPEG, PNG, WEBP, GIF, BMP. It doesn’t matter if one is a PNG with transparency and the other is a JPG from your camera. The tool converts everything to a clean JPG output automatically.
File size limit: Most free tools cap you at 5MB or 10MB. CombineJPG handles up to 20MB per image, which covers about 98% of photos from any phone or camera made after 2015.
What if you accidentally swap the order? Don’t worry. You can reorder images with one click. No need to delete and re-upload.
Step 3: Choose Layout (Side by Side or Stacked)
This is the only decision you actually have to make. Two options:
- Side by Side: Photos sit next to each other horizontally. Best for landscapes, wide screens, and any comparison where the width of your viewing device isn’t an issue.
- Vertical Stacked: One photo on top, the other below. Best for tall images (portraits, phone screenshots, receipts), mobile viewing, and situations where you want equal vertical attention.
Under each layout, you’ll see small preview icons showing exactly how your two images will look. Click the one that fits your use case.
Pro tip: You can toggle between layouts before finalizing. The tool re-renders the preview instantly. Try both. See which one looks more natural for your specific photos.
Step 4: Download Your Combined JPG
Click the big green or blue button that says “Combine,” “Merge,” or “Download.” Wait two to five seconds while the tool processes your images. Then your browser will automatically download a single JPG file.
Where does it save? Your default Downloads folder. On iPhone and Android, it goes to your camera roll or gallery under “Downloads.”
What’s the file name? Something like combined_image.jpg or merge_result.jpg. You can rename it immediately after download.
Can you do another one? Yes. The tool doesn’t cache anything. Just refresh or upload two new images. No limits. No hidden counters.
That’s literally it. Four steps. Fifteen seconds. One JPG.
Side by Side vs Stacked — Which Layout Should You Choose?
Not every photo pair works well in both layouts. Here’s a breakdown to help you decide before you click.
| Layout | Best For | Avoid When | Aspect Ratio Impact | Mobile Viewing |
|---|---|---|---|---|
| Side by Side | Landscapes, wide product shots, before/after with horizontal orientation, Twitter/X posts | Tall portraits (people will look tiny), phone screenshots, vertical videos | Photos shrink to fit side-by-side width — both become shorter | Users have to zoom or rotate phone |
| Vertical Stacked | Portraits, phone screenshots, receipts, Instagram Stories, Pinterest pins, LinkedIn posts | Ultra-wide panoramas (too much empty vertical space) | Original height preserved — photos stay tall | Perfect — scrolls naturally |
When to Break the “Rules”
Choose Side by Side even with portraits IF: You’re printing a 4×6 photo. Print ratios favor horizontal layouts. Or if you’re posting to a platform that crops aggressively in vertical mode (some Reddit previews, certain forum attachments).
Choose Stacked even with landscapes IF: You’re comparing two tall screenshots of text messages or data tables. The readability of text matters more than preserving a scenic mountain photo’s width.
Real-World Example
Let’s say you’re a real estate agent comparing “kitchen before renovation” (portrait mode, showing the floor to the ceiling) and “kitchen after renovation” (same portrait orientation). Stacked is better because buyers can see the full height of the cabinets and counters without scrolling sideways.
Now say you’re a dog groomer showing “left side of the dog after grooming” and “right side of the dog after grooming.” Side by side is better because the viewer’s eyes naturally move left to right to see symmetry.
Still unsure? Try both. The tool previews instantly. Takes five extra seconds to confirm your gut feeling.
Tips for Best Results When Merging Photos
Nobody wants a final image that looks like a cheap ransom note. Follow these five tips, and your combined JPG will look like you planned it that way.
Match Your Dimensions Before Uploading
If you put a 4000×3000 pixel photo next to a 1200×1600 pixel photo, the smaller one will stretch or the larger one will shrink unpredictably. Results vary by tool, but the cleanest merge happens when both images have roughly the same height (for side-by-side) or same width (for stacked).
Quick fix: Crop both photos to similar proportions before uploading. Use your phone’s built-in editor or a free tool like Canva. Even a rough match beats sending totally mismatched sizes.
Use the Same File Format When Possible
Mixing a high-quality PNG (lossless, huge file size) with a compressed JPG (smaller, some artifacts) won’t break anything, but the final JPG will settle on the lower quality of the two. If one photo is crisp and the other is pixelated, that pixelation carries through.
Best practice: Save both as JPGs at 85-90% quality before merging. Most photo editors let you choose output quality. Don’t max out at 100% — the file size balloons without noticeable visual gain.
Watch Your Lighting
This sounds obvious, but it’s the #1 mistake in user-merged photos. One image has warm indoor lighting (yellowish). The other was shot in daylight (blueish). When you merge those, the difference screams at viewers.
Solutions: Edit both photos in the same app before merging. Use your phone’s “warmth” or “temperature” slider to match them loosely. Or intentionally shoot both images in similar lighting — morning sun, same room, same overhead lights.
Resolution Advice for Print vs Web
For web/social media only: 1200 to 2000 pixels on the longest side is plenty. Anything larger just slows down load times.
For printing (4×6, 5×7, 8×10): Aim for 300 DPI at final print size. That means roughly 1800×1200 pixels for a 6×4 print. If you’re merging two photos that will print at 4×6 each, each original should be at least 1200×1800 pixels.
For email attachments: Keep the final JPG under 2MB. Most email servers reject anything larger, or they automatically compress it to garbage quality anyway. Use CombineJPG’s output — it defaults to balanced compression unless you override it.
Keep Important Details Away From the Seam
The “seam” is where your two photos touch. If someone’s face, a logo, or a critical data point sits right on that line, it gets visually cut in half.
Before uploading: Make sure faces, text, and focal points are at least 10-20 pixels away from the edge that will become the center. For side-by-side layouts, that means the right side of your left photo and the left side of your right photo.
Avoid Watermarks at All Costs
Some “free” merging tools slap a giant “MADE WITH FREEPHOTOMERGER” stamp across your final image. CombineJPG doesn’t do this. No watermark. No attribution line. No “powered by” footer.
If a tool asks for your email before downloading, that email isn’t for receipts it’s for their marketing list, and often they watermark free tiers anyway. Skip those.
How to Combine Photos on Mobile (iPhone & Android)
You don’t need a computer. You probably have the solution in your pocket right now.
On iPhone (Safari or Chrome)
- Open Safari or Chrome. Go to CombineJPG.com.
- Tap the upload area. Your photo library opens.
- Select your first photo, then tap “Add” or “Choose.”
- Repeat for your second photo.
- Tap “Side by Side” or “Vertical Stacked” — the interface is touch-optimized, so buttons are thumb-friendly.
- Tap “Combine” or “Download.”
- When the JPG finishes downloading, tap the download icon (a down arrow in a circle) or go to your Files app > Downloads folder.
- Tap and hold the image, then tap “Save to Photos.”
iOS weirdness to know: Safari sometimes auto-opens downloaded images in a new tab instead of saving them directly. Just tap and hold that image, then “Save Image.” Happens maybe 20% of the time.
On Android (Chrome, Samsung Internet, or Edge)
- Open Chrome. Go to CombineJPG.com.
- Tap the upload button. Your gallery or file manager opens.
- Pick your first image. Tap “Select” or the checkmark.
- Pick your second image the same way.
- Choose your layout.
- Tap “Combine.” Android usually downloads directly to your Downloads folder or Gallery > Downloads album.
- Open your gallery app. The merged photo appears automatically in most cases.
Android tip: If you can’t find the downloaded file, open your “My Files” app (Samsung) or “Files by Google” app, navigate to Internal Storage > Download, and look for combined_image.jpg. Long-press it, then “Move” to your Camera folder.
Why Mobile Works Just as Well as Desktop
Desktop browsers have more screen real estate, but CombineJPG runs entirely in your browser’s JavaScript engine. The processing happens on your device, not on some faraway server. That means:
- No upload delay (your photos never leave your phone)
- Works offline (try it in airplane mode)
- No file size limits based on some server’s storage
- Works the same on a $100 Android as a $1200 iPhone
The only difference? On desktop, you can drag and drop. On mobile, you tap. Same result.
Frequently Asked Questions
Can I merge more than 2 photos into one JPG?
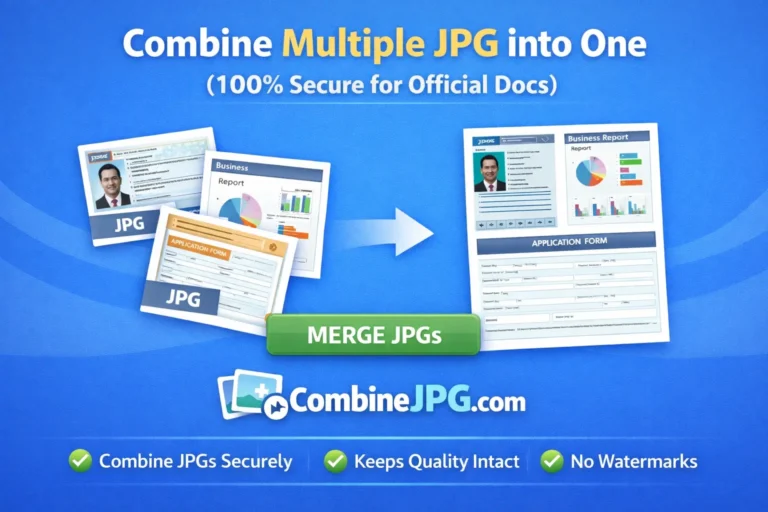
Yes, but not directly with the two-photo tool. CombineJPG has a separate multi-merger if you need 3, 4, or even 10 images in a grid. For just two photos, stick with the main tool. For three or more, look for the “Merge Multiple Images” option on the same site. The process is identical — upload all images, choose grid layout (2×2, 3×3, etc.), download.
Workaround for odd numbers of photos: Merge two photos, then merge that result with the third photo. Repeat as needed. Not elegant, but works in a pinch.
Will I lose image quality when merging two JPGs?
Short answer: barely any. Long answer: Every time you save a JPG, it re-compresses slightly. But CombineJPG uses “lossless merging” when possible — meaning your two original JPGs get stitched together without re-saving them as new JPGs. The tool only compresses once at the very end.
Visible difference test: Merge two photos. Open the original and the merged version side by side. Can you tell which is which? 99% of users cannot. The 1% who can are professional photographers pixel-peeping at 400% zoom.
If you’re paranoid about quality, upload PNGs instead of JPGs. PNGs are lossless. The final output will still be JPG (smaller file size), but the source quality starts higher.
What file formats work besides JPG?
Supported: PNG (best for screenshots, logos, text), WEBP (newer, smaller files), GIF (animated? only first frame merges), BMP (ancient but works).
Not supported: HEIC (iPhone’s default on newer iOS convert to JPG first), TIFF (too large, rarely needed), PSD (Photoshop native), RAW camera files (convert before merging).
Heic workaround: On iPhone, go to Settings > Camera > Formats > “Most Compatible” to shoot JPG instead of HEIC. Or use a free HEIC-to-JPG converter before merging.
Is CombineJPG really free? What’s the catch?
Genuinely free. No credit card. No “free trial ends in 3 days.” No watermarks. No email capture. The catch? There isn’t one. Some tools use free merging as a funnel to sell PDF converters or subscription photo editors. CombineJPG just merges photos.
How do they stay online? Optional donations, affiliate links to recommended photo software, and the fact that a simple merging tool costs almost nothing to host. It’s a passion project for the developer, not a venture-backed startup.
Does it work on mobile browsers without installing anything?
Yes. Zero installation. Zero app store visits. Any browser on any phone — iPhone, Android, even a BlackBerry from 2016 (though that might be slow). The tool doesn’t use Flash, Java, or any plugin that died in 2020. It’s plain HTML, CSS, and JavaScript. Every phone browser made in the last eight years runs it fine.
Data usage note: Because processing happens on your device, you’re not uploading photos to a server. That means merging uses almost no mobile data just the initial page load (about 200KB) and the download of the final JPG. Perfect for spotty signal areas.
Recap: You’ve Got Better Things to Do Than Fight With Photos
You came here because you had two photos that needed to become one. Maybe it was a before-and-after for a client. Maybe it was two halves of a screenshot. Maybe your boss asked for “that thing where the two images are together” and you didn’t want to admit you’d never done it before.
Now you know: CombineJPG.com does exactly one thing, and it does it well. No signup. No watermark. No “subscribe to unlock JPG export.” Just upload, choose side-by-side or stacked, download, and get on with your day.
The next time someone asks, “Can you send these as one file?” you won’t panic. You won’t open Photoshop. You won’t paste them into a Word document and take a screenshot like an animal. You’ll open your browser, spend fifteen seconds, and send back a clean, professional merged JPG.
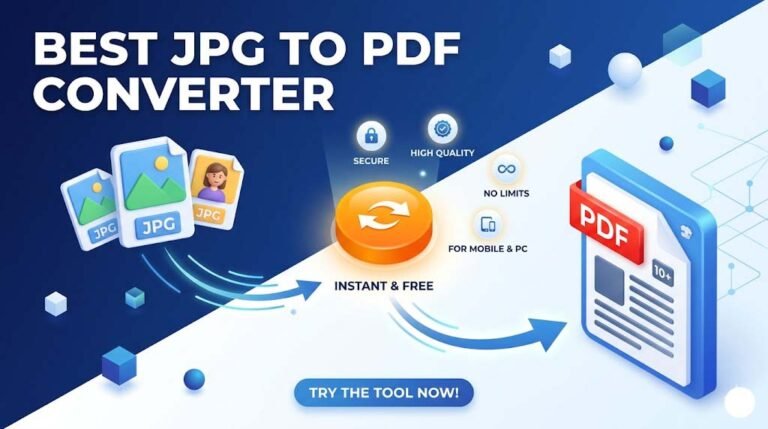
And if you ever need to go the other direction turning a merged file back into separate images or converting your JPG into a PDF for a client who insists on PDFs the same site has tools for that too.
Bookmark CombineJPG.com now. Your future self, staring at two photos at 11pm on a Sunday, will thank you.
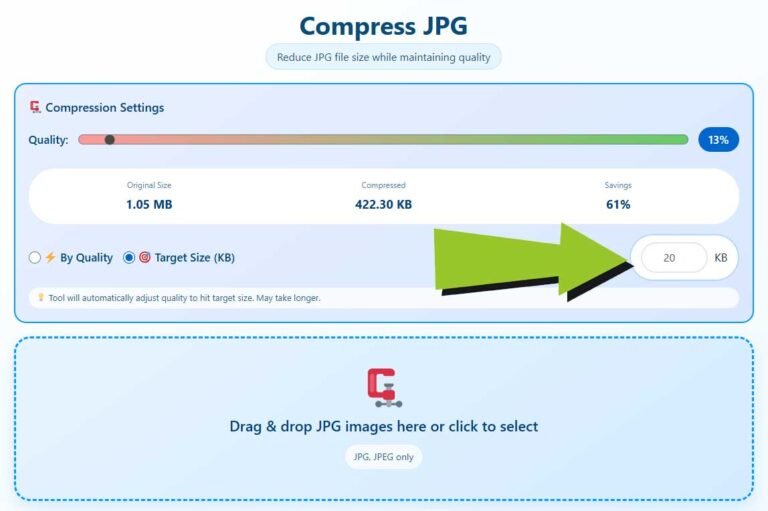
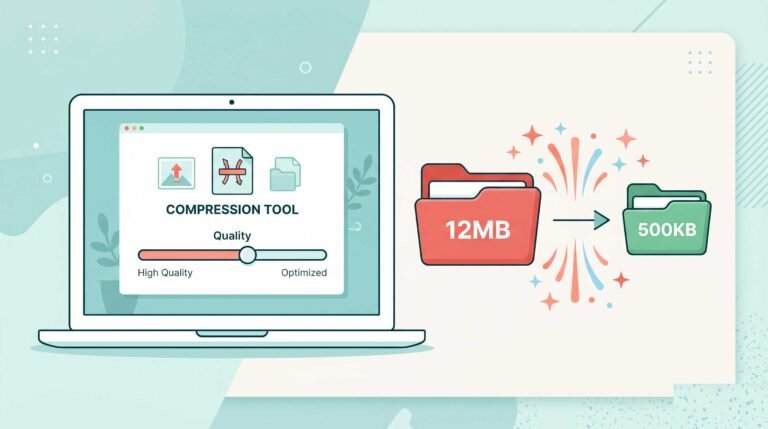
Need to compress that merged JPG because it’s too big to email? Learn how to shrink JPG file sizes without losing quality here. Or combine multiple JPGs into a single PDF for document submissions.