How to Create a Before and After Photo Comparison Online
Many of user included my self tries to show someone your fitness transformation, a room makeover, or a haircut only to have them squint at two separate photos saying, Tell… which one is the ‘after’?
For this process before and after photo comparison online tools exist.
Whether you’re a fitness coach tracking client progress, a home renovator showcasing a flip, a hair stylist showing off a color correction, or a blogger writing product reviews a clean side-by-side comparison tells the whole story in one frame. No confusing albums. No “scroll left, scroll right.”
Before that you need to work hard to make comparison photo using photoshop now this guide best part is you don’t need any type of software, You don’t need to download anything I’ll show you how to create stunning before & after images for free in under 60 seconds using a browser-based tool
Why Side-by-Side Comparisons Work Better Than Separate Photos
Now i explain why two separate images are forgettable. One combined comparison is unforgettable.
Here’s why the human brain loves a direct side-by-side:
- Instant contrast: Your eyes jump immediately from “then” to “now.”
- No memory required: Viewers don’t have to remember the first photo while looking at the second.
- Higher engagement: On Instagram or Facebook, a single comparison image stops the scroll 3x more than two separate posts.
- More believable: When both images are in the same frame with similar lighting/angle, your transformation is harder to fake.
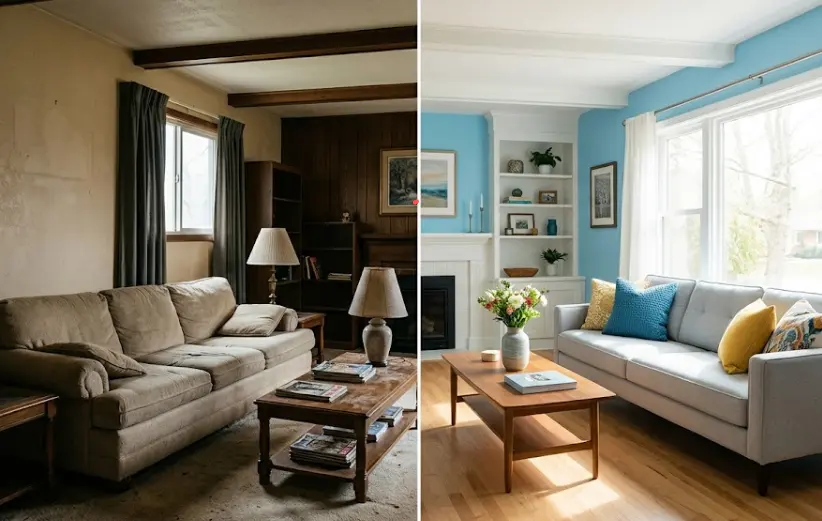
Think of real estate listings: a room looks “brighter” after painting, but only the side-by-side makes a buyer say “Wow.” Same for skincare ads, before/after weight loss photos, or even a messy desk vs. organized desk. One image = one story.
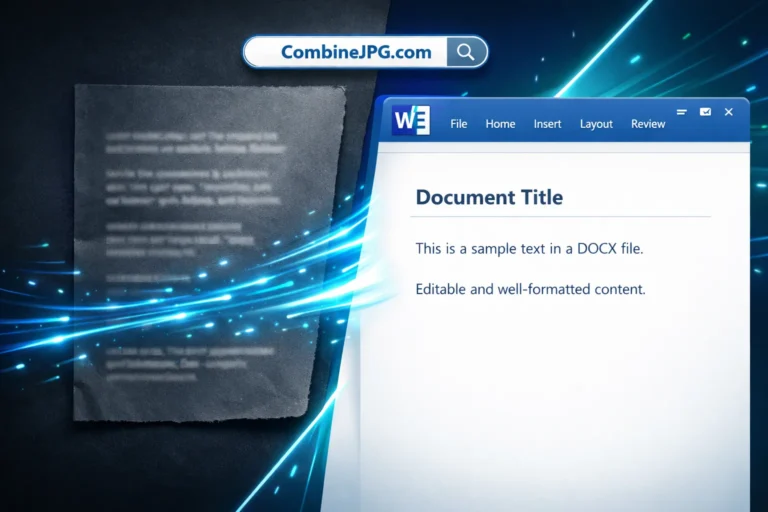
Create Before & After Image Using CombineJPG.com
.To create before and after You don’t need special skills – just two photos and a few clicks.
Step 1: Prepare your two images
Save your “before” photo (e.g., living-room-before.jpg) and your “after” photo (e.g., living-room-after.jpg) on your computer or phone. Make sure they’re roughly the same height and orientation (both landscape or both portrait).
Step 2: Go to CombineJPG.com
Open your browser and visit CombineJPG.com. Look for the “Before & After” or “Side by Side” option on their homepage. (If you don’t see it directly, use their “Merge Images” tool and arrange them horizontally.)
Step 3: Upload both images
Drag & drop or click to upload your before photo first, then your after photo. Most tools – including CombineJPG – will show a preview.
Step 4: Arrange them side by side
Select “Horizontal” layout (left/right). Before on the left, after on the right.
Pro tip: Some tools also offer a slider comparison (interactive) – but for social media, a static side-by-side works best.
Step 5: Adjust spacing & background
Make the gap between images zero, or add a thin white or black line (2-5px) to separate them clearly. Avoid thick borders or watermarks – they distract from the transformation.
Step 6: Export and download
Click “Combine” or “Merge”, wait 2 seconds, then download your high-quality JPG or PNG. That’s it – you’ve just created a professional before and after photo comparison online, for free.
Pro workflow:
- If CombineJPG gives you an option to resize output, set it to 1200px width (perfect for Instagram and blogs).
- Keep file size under 1MB for fast loading on your website.
Tips for Taking Perfect Before & After Photos
Even the best tool can’t fix bad source photos. Follow these 5 rules:
- Same lighting: Take both photos at the same time of day, in the same room, with the same windows open. Golden hour is flattering, but consistency > perfection.
- Same angle & distance: Use a tripod or mark the floor with tape. For fitness progress, stand at the same distance from the mirror. For room makeovers, shoot from a corner.
- Plain background: Avoid busy patterns or people walking by. A blank wall or clean floor makes the change pop.
- No filters or editing (except cropping): Heavy editing kills trust. Your “after” should be real.
- Show a timestamp or label: Add small text like “Day 1” / “Day 60” or “Before” / “After” in the corner. But do this after merging, not before.
Example for fitness coaches: Front view, side view, back view – same shorts, same posture, same room lighting.
Example for home stagers: Stand in the exact doorway for both shots. Show the same furniture if possible.
Best Uses for Before & After Comparisons
Here’s where you can publish your new comparison images for maximum impact:
| Platform | Best practice |
|---|---|
| Instagram carousel | First slide: side-by-side comparison. Next slides: details. |
| Vertical before/after works best (top/bottom). Use text overlay: “10 lbs in 8 weeks.” | |
| Facebook group (home decor) | Post the merged image with a short story: “Kitchen refresh under $500.” |
| Your blog post | Place the comparison at the top. Then break down the steps. |
| Client portfolio | One PDF with 5–10 comparisons per client (weight loss, skin clearing, renovation). |
| Product review site | Show “product before use” vs. “product after 14 days.” |
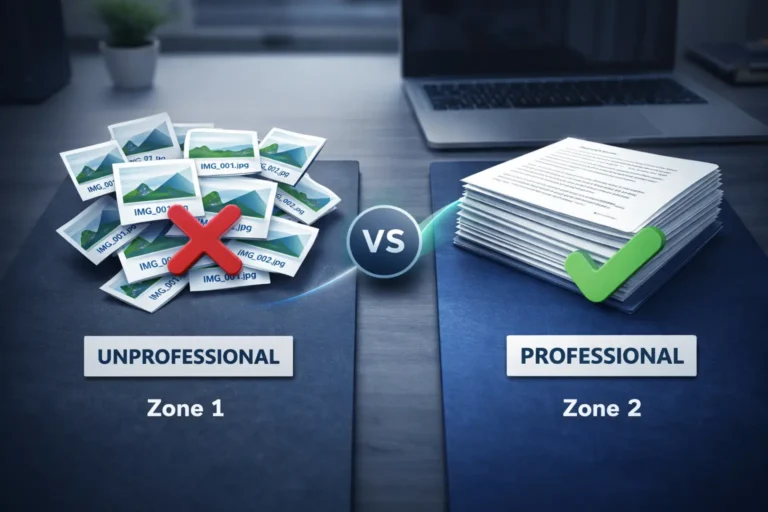
Case in point: A personal trainer I know increased her consultation bookings by 40% simply by replacing albums of 10 separate progress photos with 4 clean side-by-side comparisons on Instagram. People don’t scroll – they see.
Common Mistakes People Make (And How to Avoid Them)
Even good intentions can go wrong. Avoid these:
❌ Mistake 1: Different poses or angles
If your before photo faces left and your after faces forward, the comparison is useless.
✅ Fix: Retake the after photo to match the before exactly.
❌ Mistake 2: Cropping one image differently
Different heights or widths create a messy, uneven look.
✅ Fix: Crop both images to the same aspect ratio (e.g., 1:1 or 4:5) before uploading to CombineJPG.
❌ Mistake 3: Over-compressing
Tiny, pixelated images look unprofessional.
✅ Fix: When downloading, choose “maximum quality” or PNG for text-heavy comparisons.
❌ Mistake 4: Forgetting to label “Before” vs. “After”
You’d think it’s obvious, but viewers often guess wrong.
✅ Fix: Add small, discreet text labels after merging. Use a tool like Canva or even MS Paint.
Conclusion
You don’t need a design degree or expensive software to make a stunning before and after photo comparison online. With free tools like CombineJPG.com, you’re literally two uploads away from a shareable, scroll-stopping image.
Remember:
- Use consistent lighting, angle, and background.
- CombineJPG handles the merging in seconds.
- Post on social media, your blog, or your portfolio.
- Avoid the common mistakes (angle mismatches, no labels).
Now go take your “before” photo – yes, even if you’re not ready yet. Future you will thank you.
FAQ
Can I create a before and after photo comparison online for free without Photoshop?
Absolutely. Tools like CombineJPG.com, Canva (free tier), and IMGonline let you merge two images side by side in a few clicks. No Photoshop, no download, no watermark (with most free tools – always check).
What’s the best image size for a before/after comparison on Instagram?
Use 1080 x 1350 pixels for a vertical side-by-side (before on left, after on right) – this fills most of the screen on mobile. If you’re posting to Pinterest, go 1000 x 1500 pixels with the before on top and after on bottom.
How do I prevent quality loss when merging two photos online?
Upload the highest resolution originals you have (but under 10MB per image). When downloading from CombineJPG, choose PNG format if available, or set JPG quality to 95%+. Avoid re-saving multiple times one merge, then done.