How to Merge JPG Files Into One (Every Method, Compared)

Sooner or later, almost everyone runs into the same small problem you have two or three JPG images that really belong together as one file. Maybe it’s the front and back of a receipt, a couple of screenshots you need to send as a single attachment, or scanned pages from a form. Whatever the reason, “how do I merge these into one JPG” turns out to be a question with more possible answers than people expect some fast, some frustrating, and a couple that quietly ruin your image quality if you’re not careful.
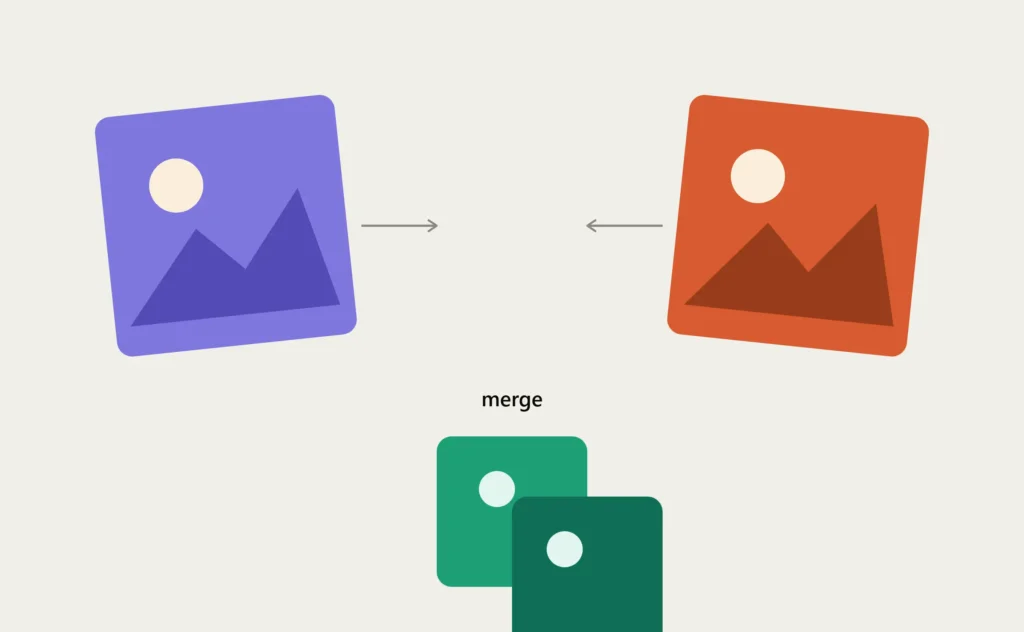
This blog post walks through every practical way to do it, starting with the tools already sitting on your computer and ending with the method most people land on once they’ve tried the others.
Method 1: Microsoft Paint (Windows)
Paint has been on every Windows machine for decades, and it’s the first thing most people reach for. It works, but it’s more manual than you’d expect.
- Open Paint and set your canvas size large enough to fit both images this usually means guessing, then resizing later.
- Open your first image, select all, copy it, then paste it into the canvas.
- Open the second image the same way, copy it, and paste it into the same canvas next to or below the first.
- Drag the pasted image into position by hand. There’s no snapping or alignment guide, so getting a clean edge takes a few tries.
- Crop the canvas down to remove any leftover white space.
- Save as JPEG, and pick the highest quality setting Paint offers.
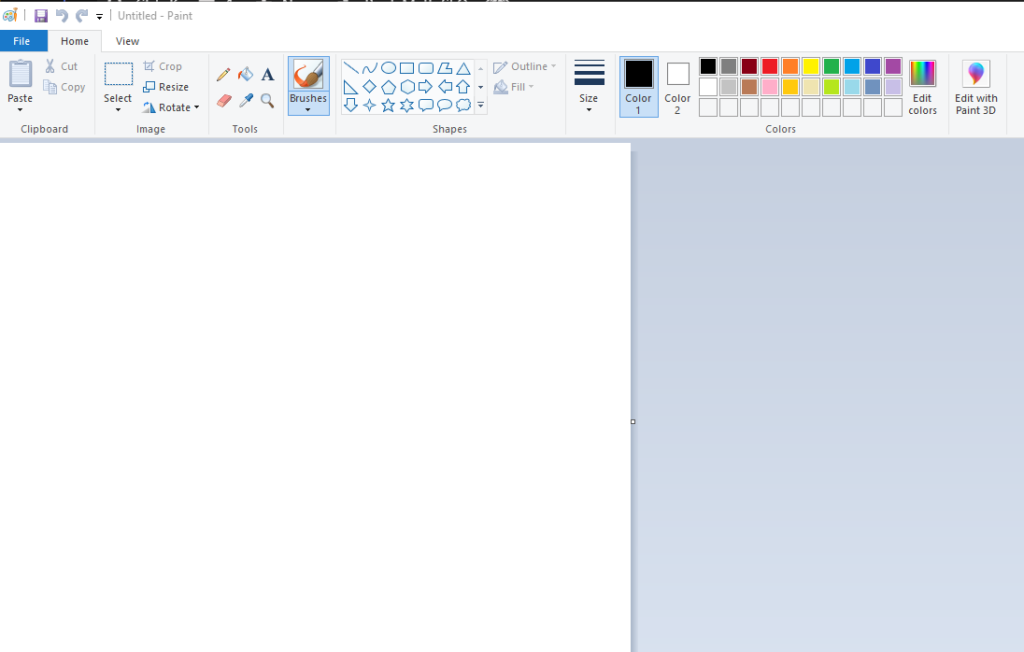
This works fine for one-off jobs with two images. It gets tedious fast with anything more than that, and the manual alignment step is where most people end up with a slightly crooked or unevenly spaced result.
Method 2: Preview (Mac)
Mac users have a slightly smoother built-in option, though it’s still not built specifically for this task.
- Open both images in Preview.
- Use the markup toolbar to select and copy the second image.
- Paste it into the first image as a new layer.
- Resize and reposition the pasted layer using the selection handles.
- Flatten and export as JPEG.
Preview handles the layering a bit more gracefully than Paint, but positioning two full-size images precisely still comes down to eyeballing it. It’s manageable for two images, painful for five or six.
Method 3: A Design App (Canva, Photoshop, etc.)
If you already have Canva or Photoshop open, you can obviously do this there. Photoshop gives you full pixel-level control over alignment, spacing, and export quality genuinely the best result if you already know your way around layers and canvases. Canva is friendlier but adds its own watermarks or export limits on the free tier depending on what template you’re using.
The catch with both is time. Opening a full design app, setting up a canvas, placing images, aligning them, and exporting correctly takes several minutes even if you know the software. For a quick merge, that’s a lot of overhead.
Method 4: An Online JPG Merger
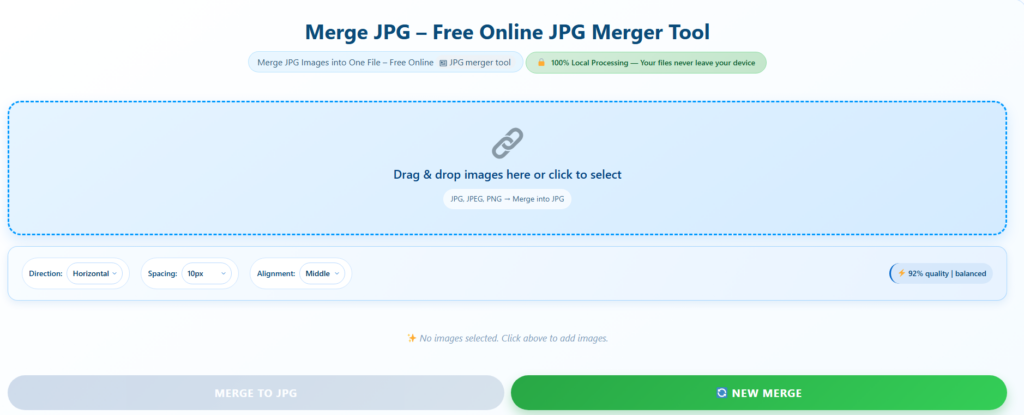
This is where most people end up, and for a simple reason it skips every manual step above. You upload your images, drag them into the order you want, pick a layout, and the tool handles the sizing, alignment, and spacing automatically.
Here’s what that looks like in practice:
- Upload your images. Drag and drop them into the tool, or click to browse. Most decent tools let you select several files at once instead of adding them one by one.
- Arrange the order. Drag the thumbnails until they’re in the sequence you want them to appear in the final file. This step matters more than people expect — reordering after the merge usually means starting over.
- Choose a layout. Vertical stacks images on top of each other, which works well for documents and scans. Horizontal places them side by side, better for comparisons. Grid is useful once you have four or more images and want them evenly arranged.
- Merge and download. The tool combines everything into a single JPG, ready to download immediately no export settings to configure, no canvas size to guess.
A tool like CombineJPG’s merge JPG page does this entirely in your browser, which also means your images aren’t sitting on someone else’s server while this happens worth knowing if you’re merging anything even mildly sensitive, like ID documents or financial paperwork.
Which Method Should You Actually Use?
| Situation | Best method |
|---|---|
| One-off merge, two images, you’re not picky about pixel-perfect alignment | Paint or Preview |
| You already have Photoshop open and need precise control | Photoshop |
| You need to merge more than 2–3 images, or need it done fast | An online merger |
| You’re on mobile | An online merger — desktop software isn’t an option anyway |
| The images contain sensitive information | A browser-based tool that doesn’t upload files to a server |
Common Mistakes People Make While Merging JPGs
Not setting the order before merging. This is the single most common redo. Get your sequence right before you click merge — most tools don’t let you reorder after the fact without starting over.
Merging images with wildly different resolutions. If one photo is 4000px wide and another is 800px, stacking them side by side often looks awkward because one image dominates the frame. Where possible, use images captured at similar resolutions, or expect some visual imbalance.
Re-saving the merged file repeatedly. Every time you open a JPG, edit it slightly, and save again, you lose a small amount of quality — this is how JPEG compression works. If you need to tweak something, do it before your final save, not after.
Assuming JPG and JPEG can’t be mixed. They can — they’re the same format. If your folder has a mix of .jpg and .jpeg files, you don’t need to convert anything before merging them together.
A quick note on quality — If you’re merging scanned documents where text needs to stay sharp and readable, pay attention to whether your chosen method resizes or recompresses your images during the process. Manual methods like Paint can quietly downscale images to fit a canvas you set too small. Online tools vary — some preserve original resolution, others compress aggressively to save space. If quality matters, test with one file first before running a big batch through any tool you haven’t used before.
Merging images from different sources without checking orientation. A photo taken on a phone that’s been auto-rotated by the operating system can sometimes get merged in its raw, unrotated form, especially by simpler tools that read pixel data directly rather than respecting orientation metadata. If a merged image looks like one photo is sideways when it looked fine individually, this is almost always the cause — check the original file’s orientation before assuming the merge tool is broken.
Frequently Asked Questions
Can I merge more than two JPGs at once?
Yes, with most online tools — batch upload lets you select several files together rather than merging two at a time and repeating the process. Built-in tools like Paint or Preview are more tedious for anything beyond two or three images, since each one has to be manually positioned.
Will merging JPGs change the file format?
No. The output stays a JPG (or JPEG — the extension used is usually just a default setting of whichever tool you use, since they’re the same format either way
Can I merge JPGs on my phone without installing an app?
Yes this is one of the clearer advantages of a browser-based online tool over Paint or Preview, since it works the same way on a phone’s browser as it does on a desktop, with no app to download.
The Bottom Line
For a single quick merge where you don’t care about precision, the built-in tools on your computer will get the job done, just with some manual fiddling. For anything more frequent, more than a couple of images, or done from a phone, an online merger removes basically all of the friction — no software to open, no canvas to size, no alignment to eyeball.
If you want to try it yourself, CombineJPG’s merge tool handles JPG and JPEG together, supports vertical, horizontal, and grid layouts, and runs entirely in your browser free, with no signup required.