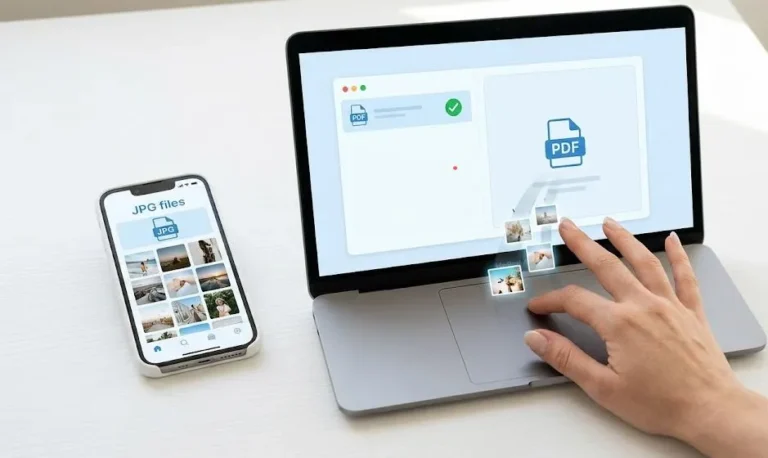
How to Save PDF as JPG – Simple Methods That Actually Work
There are different type of method actually you can use to save pdf as jpg but here we will provide you simple method that works. If you have a pdf file and now you want to share some pages on WhatsApp and other platform and there pdf file is not supported so don’t worry converting PDF to JPG is honestly easier than most people think and you don’t always need extra software for it.
Let me explain you through the methods that work, including one trick that almost nobody talks about these method they always suggest you complicated method.
Method 1: Use a Browser (No Software Needed)
This is the method most people skip, and it’s actually one of the fastest.
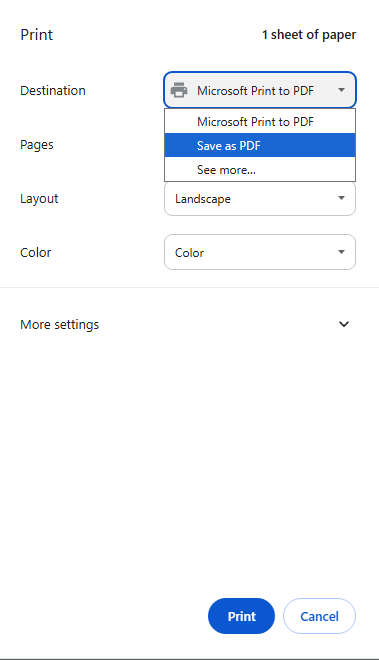
Open your PDF in Google Chrome or Microsoft Edge. Once it’s open, press Ctrl + P (or Cmd + P on Mac) to open the print dialog. Now instead of printing, change the destination to “Save as PDF” wait, that’s not what we want. Here’s the actual trick:
Instead of printing, right-click anywhere on the PDF page and choose “Print”. In the print window, look for a setting called “More settings” or “Layout” and change the scale to fit the page. Now cancel out of that.
Go back to the PDF page. Press Ctrl + Shift + S (screenshot shortcut in some systems) or use the Snipping Tool (Windows key + Shift + S on Windows 10/11). Select exactly the page area you want. Save it as JPG.
This gives you a clean, full-page image with no watermarks, no file size limits, and zero sign-ups required.
Method 2: The “Print to Image” Trick Using MS Word (Hidden Feature)
Most people don’t know Word can do this. Here’s how:
- Open Microsoft Word
- Go to File > Open and open your PDF (Word will convert it automatically)
- Once it opens, go to File > Save As
- In the “Save as type” dropdown, look for Web Page (.htm, .html)
- Click Save

Now open the folder where you saved it. You’ll see a new folder created automatically with the same name open it and you’ll find every single page of your PDF saved as a separate JPG image.
This is a completely underrated method. No extra tools, no online upload, no risk of your file going to some random server. It’s all done locally on your computer.
Heads up: If your PDF has pages you don’t actually need, it’s worth removing those pages from the PDF before converting that way you only get the images you want instead of sorting through a whole bunch of extras.
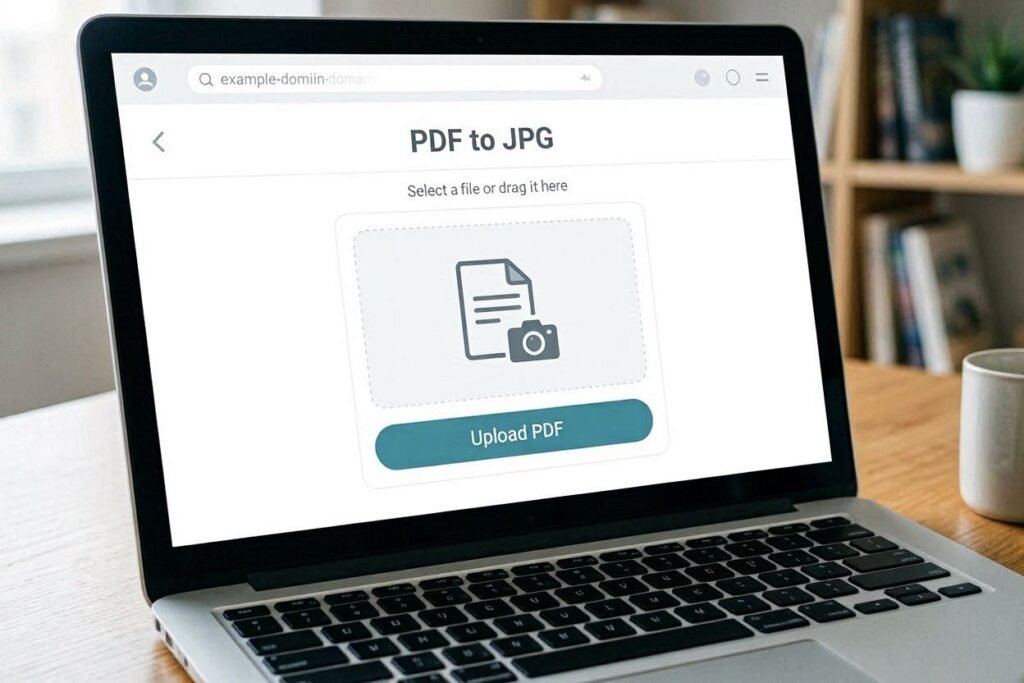
Method 3: Online Tool – Fast for Quick Jobs
If you just need one or two pages converted quickly and don’t want to mess with settings, an online tool is the easiest path.
Go to combinejpg.com where you can upload your PDF, pick the pages you want, and download the JPG images in seconds. It’s straightforward and works on any device including mobile.
This is especially useful when you’re on the go or using someone else’s computer. And if you ever need to go the other direction turning multiple JPG images back into a single PDF that’s just as easy on the same tool.
Method 4: Adobe Acrobat Reader (Free Version Has This)
A lot of people don’t realize the free version of Adobe Acrobat Reader lets you take snapshots.
- Open your PDF in Adobe Acrobat Reader
- Go to Edit > Take a Snapshot (or find it under the Tools menu)
- Draw a box around the area you want
- It copies that area to your clipboard
- Open Paint or any image editor, paste it, and save as JPG
Not the most glamorous method, but it’s precise you can grab exactly what you need without converting the whole document.
Method 5: Use Your Phone Camera (For Physical Documents)
Okay hear me out if your PDF is a scanned document or something simple like a receipt or certificate, sometimes the fastest thing is to open the PDF on your screen, zoom in on the page, and take a photo with your phone.
Use Google PhotoScan or just your regular camera app. The image won’t be pixel-perfect, but for sharing on social media or WhatsApp it works perfectly fine. No apps, no uploads, done in 10 seconds.
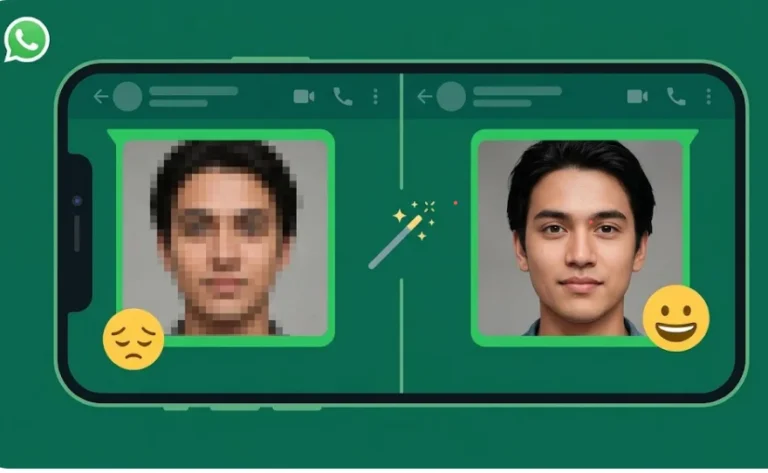
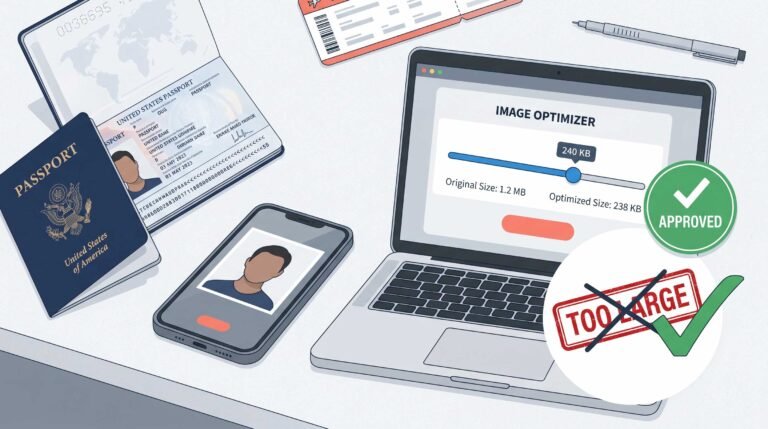
If you’re converting a resume photo or a profile picture this way and it ends up too large to upload somewhere, you can always resize and compress the image to bring it down to the right size without losing quality.
The Method Nobody Talks About – Using Windows Fax and Scan
Here’s one that’ll surprise you. Windows has a built-in tool called Windows Fax and Scan that almost nobody uses for this purpose.
- First, open your PDF in any viewer and go to the page you want
- Press Windows Key, type “Windows Fax and Scan” and open it
- Click New Scan
- Under Source, choose Flatbed
- Under File Type, choose JPG
Now here’s the key: you’re not actually scanning a physical document You’re using this as a screen capture pipeline. This only works if you have a scanner connected, so it’s more of a bonus tip for people in office setups but when it works, it gives you a crisp, properly formatted JPG every time.
Short Tips Before You Go

Resolution matters
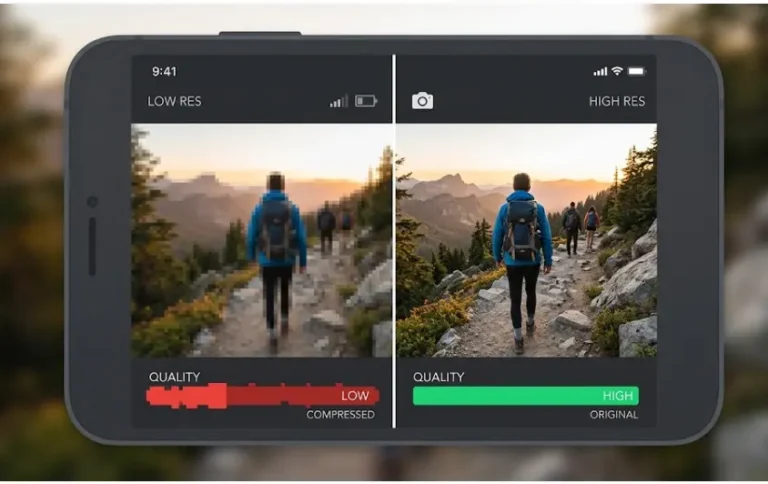
- If the JPG looks blurry, try converting at 300 DPI instead of the default 72 DPI. Most online tools have this option. If you’re not sure what DPI actually does to your images, this guide on DPI and why it matters explains it really well.
Multi-page PDFs
- If you need all pages as separate JPGs, use the MS Word method (Method 2) — it handles bulk conversion automatically.
File size too big?
- After converting, you can compress your JPG on combinejpg.com to reduce the size without losing visible quality.
Transparent backgrounds
- PDFs with transparent elements sometimes look odd in JPG (which doesn’t support transparency). Use PNG instead if that’s an issue.
Mobile users
- On iPhone, use the Files app to open a PDF, take a screenshot, and crop it. On Android, open in Chrome and use the screenshot + crop method.
Not sure whether to save as JPG or keep it as PDF?
- It depends on what you’re doing with the file. If you’re combining images for a document, here’s a quick comparison of merging JPG to PDF vs JPG to JPG so you can pick the right format for your use case.