iPhone Photos Not Opening on Windows? Here’s How to Convert HEIC to JPG in 30 Seconds (Free)

When you try to click on a photo you just transferred from your iPhone. Windows gives you that annoying message “Windows can’t open this file.” You check the file extension and there it is: .heic.
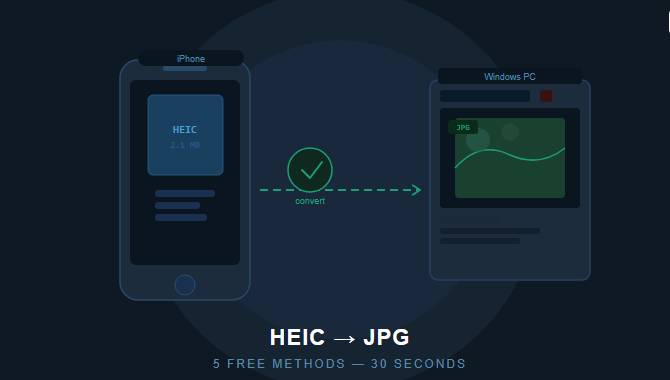
My Friends, this has happened to almost every iPhone user who has ever tried to share a photo with someone on Android, email it to a client, upload it to a government portal, or even post it on a website. HEIC files are iPhone’s default format since iOS 11, and while Apple thinks it’s great, the rest of the world hasn’t caught up yet.
Now the good news is Converting HEIC to JPG takes literally 30 seconds. No paid app, no technical degree needed. And if you need to combine all photos into one file before sharing that’s just one extra click. In this blog guide I will show you 5 dead-simple methods pick whichever one feels easiest for you.
Why Does iPhone Even Use HEIC?
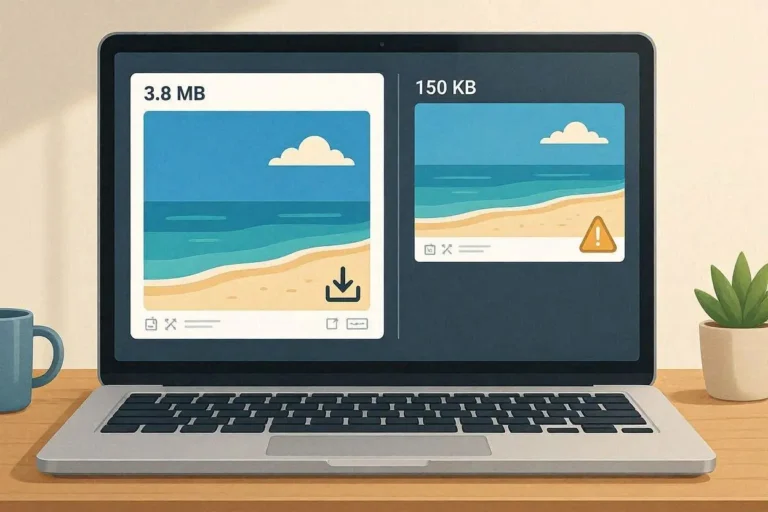
Apple switched from JPG to HEIC (High Efficiency Image Container) because HEIC photos take up roughly half the storage space of a JPG without any visible drop in quality. A photo that takes 4MB as JPG might only be 2MB as HEIC. For a phone with 64GB storage and a camera you use every day, that adds up fast.
The problem is compatibility. JPG is 30+ years old and works on literally every device, every browser, every platform ever made. HEIC is newer, and Windows, Android, most websites, and government portals still reject it.
So you are stuck. Great quality photos, but nobody outside the Apple world can open them properly. Let’s fix that right now.
Method 1: Change iPhone Settings (Stop the Problem Forever)
This is the method nobody tells you first. Instead of converting files after the fact, just tell your iPhone to stop saving photos as HEIC.
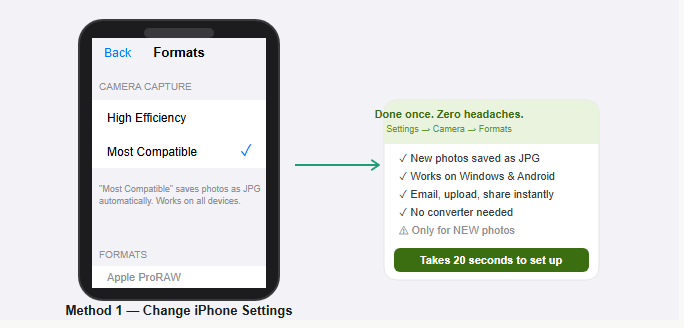
Go to Settings on your iPhone. Scroll down and tap Camera. Tap Formats at the top. Under Camera Capture, you will see two options: High Efficiency (HEIC) and Most Compatible (JPG). Tap Most Compatible.
Done. From now on, every photo you take will be saved as JPG automatically. No conversion needed, no extra steps. This takes 20 seconds to set up and saves you hours of headaches in the future.
One thing to note: This only applies to new photos. Photos you already took will still be HEIC. For those, use one of the methods below.
Method 2: Use the Free Bulk HEIC to JPG Converter Online
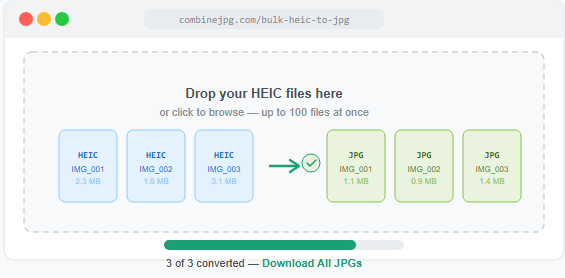
If you have a bunch of existing HEIC photos you need to convert maybe 50 photos from a recent trip, or old files sitting on your computer the fastest way is to use an online converter.
Go to the free bulk HEIC to JPG converter at CombineJPG. The tool works directly in your browser, which means your photos never leave your device nothing gets uploaded to any server. It is completely private and free.
You just drag and drop your HEIC files, click convert, and download the JPGs. The tool handles bulk conversion too, so if you have 40 files, you do not need to do them one by one.
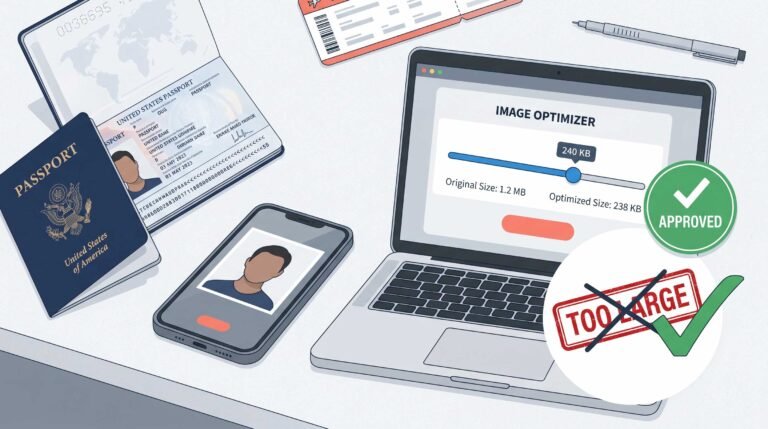
After converting, if your JPG files are too large to attach to an email or upload to a portal, you can also compress your JPG after converting on the same site without losing visible quality.
Method 3: Transfer Photos Using a Cable (Automatic Conversion)
Here is a trick most people do not know. When you plug your iPhone into a Windows PC using a USB cable, Windows asks you what to do with the device.
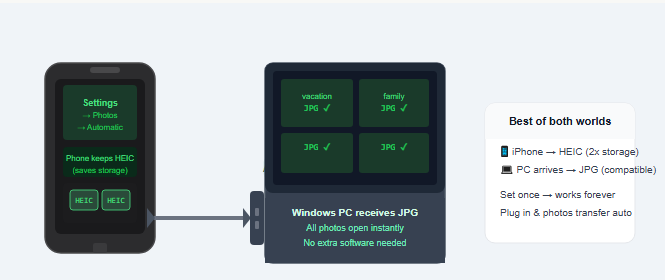
If you go to Settings on your iPhone first, then scroll to Photos, you will find an option called “Transfer to Mac or PC.” Change this from “Keep Originals” to “Automatic.”
Now whenever you plug in your iPhone and transfer photos, iOS automatically converts HEIC files to JPG during the transfer. The photos stay as HEIC on your phone (saving storage) but arrive as JPG on your PC. Best of both worlds.
Once transferred, you can convert multiple images in one click if you need to merge or process them further.
Method 4: Use Mac Preview (Works in 10 Seconds)
If you are on a Mac, this is honestly the fastest method for a few files.
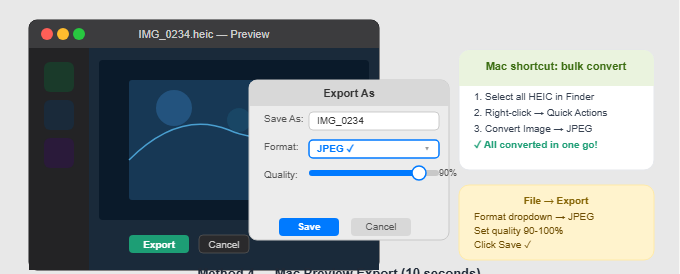
Open your HEIC file in Preview just double click it. Go to File in the menu, then Export. In the Format dropdown, choose JPEG. Adjust the quality slider if you want, then click Save. That is it.
For bulk conversion on Mac, you can select multiple HEIC files in Finder, right-click, choose Quick Actions, then Convert Image, then JPEG. Mac converts all of them at once without any extra app needed.
Method 5: Use Google Photos (Works on Both iPhone and Android)
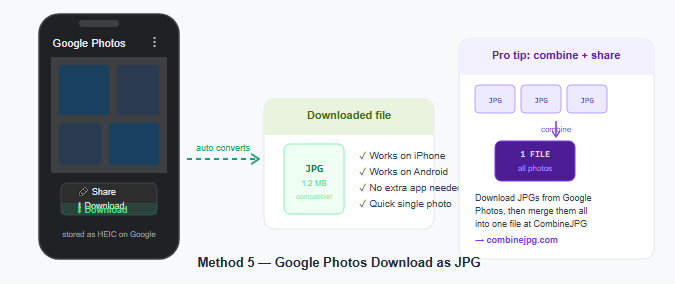
If you have Google Photos installed and your photos backed up, there is a simple trick. Open the photo in Google Photos on your phone or in a browser. Tap the three dots menu and choose Download.
Google Photos automatically serves the downloaded file as JPG, even if the original was HEIC. So you get a clean, compatible JPG without doing anything extra. This works great for sharing individual photos quickly.
This method is especially useful if you want to combine all your vacation photos into one file to share with family download them from Google Photos as JPGs first, then merge them all into a single image in one click.
Common Problems People Face (And Quick Fixes)
| Problem | Quick Fix |
|---|---|
| Converted JPG has black background | Use Mac Preview method it handles transparency correctly by filling with white |
| JPG file size is too big after converting | Compress your JPG online for free reduces size by 60-80% with no visible quality loss |
| Photo looks blurry after conversion | You converted at low quality setting. Use 90-100% quality in converter settings |
| HEIC files not showing in Windows Explorer | Install HEIC Image Extensions (free from Microsoft Store) to preview without converting |
| Renamed .heic to .jpg but still won’t open | Just renaming does NOT convert. You need an actual conversion tool — the file stays HEIC internally |
| Bulk conversion taking too long | Split into batches of 20-30 files, or use the bulk HEIC converter for speed |
So Which Method Should You Use?
| Your Situation | Best Method |
|---|---|
| You want to stop HEIC problems forever | Method 1 — Change iPhone camera settings right now |
| You have lots of old HEIC photos to convert | Method 2 — Use the free bulk HEIC converter online |
| You transfer photos to PC regularly | Method 3 — Change “Transfer to Mac or PC” to Automatic |
| You are on a Mac with a few files | Method 4 — Use Preview’s built-in export feature |
| You just need one quick photo now | Method 5 — Download from Google Photos as JPG |
FAQ — Quick Answers
Does converting HEIC to JPG reduce quality?
Slightly, yes. HEIC supports better color depth than JPG. But for everyday sharing, WhatsApp, emails, and website uploads, the difference is not visible to the human eye. If you need maximum quality for print, use 100% quality setting when converting.
Is it safe to use online HEIC converters?
It depends on the tool. Always use tools that process files locally in your browser (like CombineJPG) rather than uploading to a server. This way your private photos never leave your device.
Can I convert HEIC to JPG on Android?
Yes. Install a file manager app that supports HEIC preview, or use an online converter in your Chrome browser. Google Photos download method (Method 5 above) also works on Android.
How many HEIC files can I convert at once?
The bulk HEIC converter handles large batches. For very large collections (500+ photos), convert in batches of 50-100 files at a time for faster processing.
Will my Live Photos work after converting?
Only the still frame converts to JPG. The motion part of a Live Photo cannot be represented in JPG format. If you need to keep the motion, export as MP4 from your iPhone instead.
Can I merge ID card front and back into one image?
Yes! If you need to submit both sides of your ID as a single file, you can merge ID card front and back into one image easily — very useful for government portals and job applications.
Final Thought
HEIC is Apple being smart about storage, but the real world runs on JPG. None of the 5 methods above cost anything, and none of them take more than a minute. Pick the one that fits your situation, do it once properly, and you will never have to deal with that “can’t open this file” message again.
And if you are dealing with multiple photos that need to be sent as a single file, you can always merge all your converted JPGs into one combined image or PDF saves time and keeps things organized when sharing with clients, family, or for official documents.