How to Reduce Image Size in KB Without Losing Quality (The Right Way)

“Please upload a photo smaller than 200KB.” You have seen this message on visa applications, job portals, university admissions forms, and government websites. And then you look at your photo it is 3.8MB. That is almost 20 times too large. Included myself i have faced this issue many time and decide to provide the best method who face this issue in different situation.
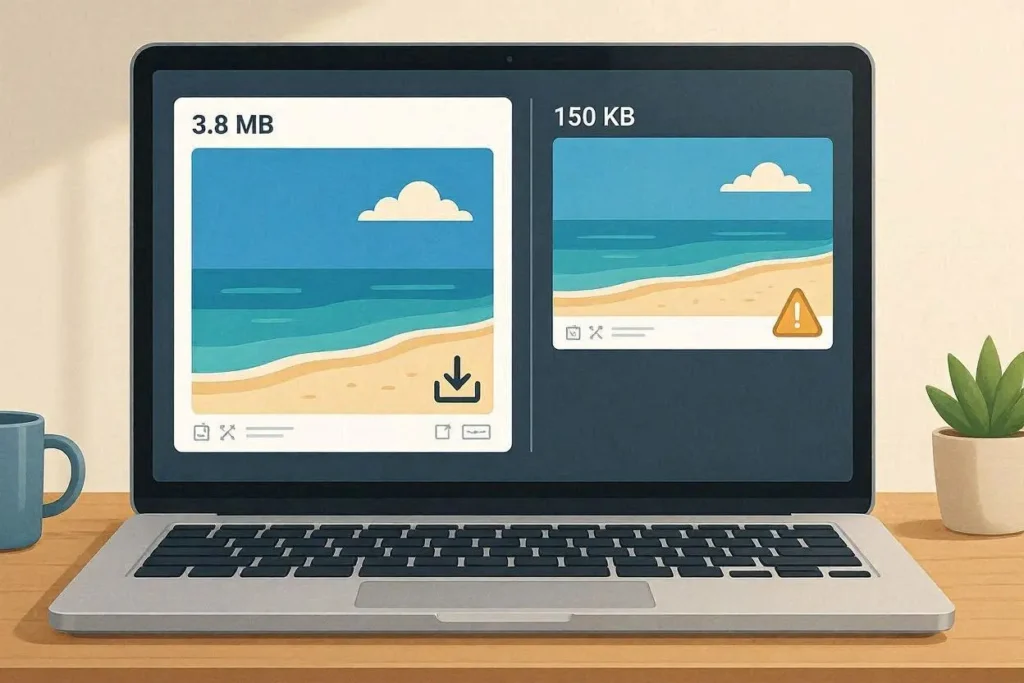
So after checking this blog post guide you will be able to reduce the image size for all type of purpose without losing your jpg,png or webp quality.
Why Forms Have File Size Limits
Official portals set file size limits because they process thousands of submissions and store them on servers with limited space. A passport photo displayed at 2cm on a screen does not need to be 5MB.
The most common limits you will encounter:
- Visa and passport applications: 50KB to 200KB
- Job application portals: 100KB to 500KB
- University admissions: 100KB to 1MB
- Email attachments: Best practice is under 1MB per image
- WhatsApp profile photos: Ideally under 500KB for fast loading
- Government e-portals (NADRA, FBR, HEC): 50KB to 150KB
What Happens to Image Quality When You Compress?
This is the question everyone worries about, and the honest answer is: not much, if you do it right.
A JPEG image straight from your phone camera is saved at 95–100% quality with pixel dimensions around 4000×3000. That level of quality is designed for large print, not a 2cm thumbnail on a government portal.
When you reduce quality to 75–80% and resize to 800–1000px wide, a trained eye looking very carefully might notice a tiny difference. A visa officer glancing at your photo on a screen absolutely will not.
The key is doing both steps — resize first, then compress — in the right order.
The Two Ways to Reduce Image File Size
Method 1 — Resize (reduce pixel dimensions):
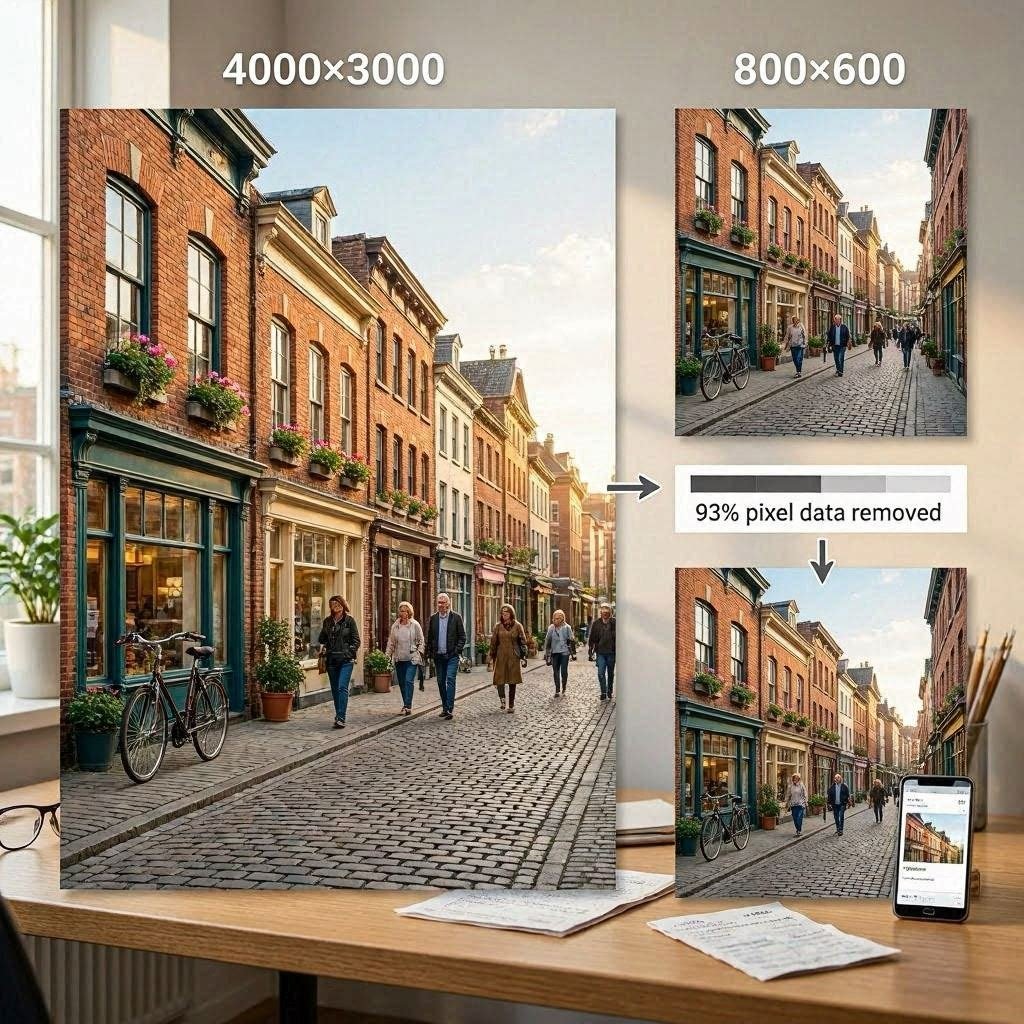
If a photo is 4000×3000 pixels, resizing it to 800×600 pixels removes 93 percent of the pixel data. The file gets much smaller and looks completely fine on a screen.
Method 2 — Compress (increase compression ratio):
Keep the same pixel dimensions but remove some visual detail the eye can barely perceive anyway. For hitting a specific KB target, you usually need both.

How to Reduce Image Size to a Specific KB — Step by Step
Step 1 — Resize First
Open the Image Resizer at CombineJPG.com. Resize based on your use case:
- For documents and forms: max 1200×900px
- For WhatsApp and social media: max 1600px on the longest side
- For passport and ID photos: 600×600 or 800×800px
Always resize before compressing. Fewer pixels means the compressor has less data to work with, giving you better results at smaller file sizes.
Step 2 — Compress the Resized Image
Open the Compress JPG tool at CombineJPG.com. Adjust the quality slider:
- 75 to 85 percent quality gives excellent results that look great on any screen
- 60 to 75 percent is the sweet spot for official form submissions where file size limits are tight
Step 3 — Check the File Size
After downloading, right-click the file and check Properties to see the exact KB size. If still too large, go back to the Image Resizer and resize slightly smaller, or reduce the quality further in Compress JPG.
Hitting Specific Targets
| Target Size | Recommended Approach |
|---|---|
| Under 200KB | Resize to ~1000px wide + compress to 75–80% quality |
| Under 100KB | Resize to ~800px wide + compress to 65–75% quality |
| Under 50KB | Resize to ~600px wide + compress to 60–70% quality |
| Under 20KB | Resize to ~400px wide + compress to 60% quality (thumbnail territory) |
What File Formats Should You Use?
JPEG / JPG — The best format for photographs and photo-like images when size matters. JPEG supports adjustable compression, so you can fine-tune exactly how many KB the file takes up. Always convert PNG photos to JPG before submitting to portals with size limits.
PNG — Better for screenshots, logos, and images with text or sharp edges. PNGs are lossless but tend to be much larger. For a photographic portrait, a PNG will typically be 3–5× larger than the equivalent JPG at the same dimensions.
WebP — A modern format with excellent compression, but many government portals do not accept it. If your image is in WebP format, convert it to JPG first before submitting.
Quick tip: If your image is a PNG screenshot of a document, converting it to JPG and compressing at 80% quality will usually reduce the size by 70–80% with no visible quality loss.
ID Card and Document Workflow
Preparing ID card scans or official document photos for portals is a slightly different workflow. Most portals ask for both the front and back of your ID in a single image file.
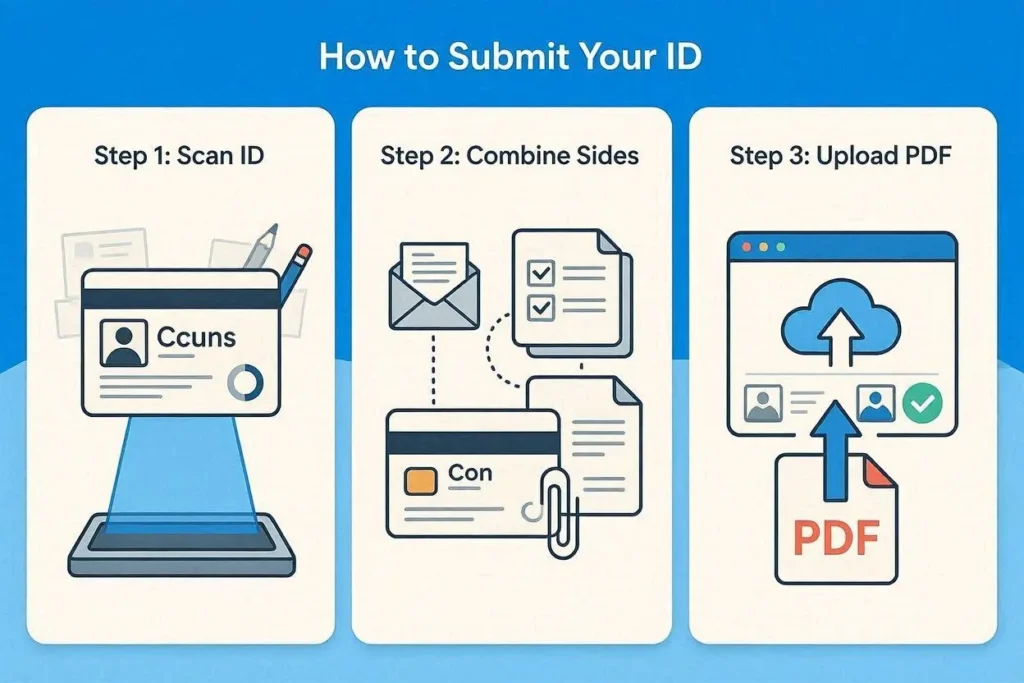
- Step 1: Scan or photograph your documents clearly under good lighting.
- Step 2: Combine the front and back using the Merge ID Card tool at CombineJPG.com. This tool is specifically designed for CNIC, passport, and driving licence scans it places both sides neatly side by side or stacked in a single image file, ready for portal upload.
- Step 3: If the portal asks for multiple documents in one PDF, compile them using Combine JPG to PDF. This tool lets you arrange multiple images into a single, orderly PDF ideal for job applications and university admissions that ask for a document bundle.
- Step 4: Compress each image with Compress JPG before combining, so the final PDF stays within any file size limits.
Common Mistakes That Make Images Too Large
Uploading the original camera photo. Smartphone cameras save JPEGs at near-maximum quality with massive dimensions. The file you take straight from your gallery is optimised for printing, not portal upload.
Compressing without resizing first. If you try to compress a 4000px-wide image to under 100KB, you will have to lower quality so aggressively that the result looks blurry and pixelated. Always resize first.
Using the wrong format. Trying to submit a PNG photograph will almost always exceed size limits. Convert to JPG first.
Re-editing and re-saving multiple times. Every time you save a JPEG, it re-compresses and loses a tiny bit of quality. Use the Image Resizer and Compress JPG tools in one clean workflow rather than repeatedly editing and re-saving.
Frequently Asked Questions
Will the image look bad at 100KB?
At 100KB, a well-compressed JPG at 800px wide looks perfectly good on any screen. The vast majority of people, including officials reviewing portal submissions, will not be able to tell the difference from the original.
My image is already JPG but still too large — why?
Camera JPGs are saved at 95–100% quality with massive pixel dimensions. Both the dimensions and the quality setting need to be reduced. Start with the Image Resizer, then apply compression.
Should I resize first or compress first?
Always resize first. Fewer pixels means the compressor has less to work with, giving better quality at smaller file sizes.
Can I reduce a PNG to under 200KB?
Yes, but the easiest route is to convert it to JPG first. A PNG photograph can be 1–3MB even at modest dimensions. Converting it to JPG and compressing to 75% quality will usually bring it well under 200KB.
What if the portal only accepts PDF?
Compress your images first using Compress JPG, then convert and bundle them using Combine JPG to PDF. The resulting PDF will be compact enough for most portal upload limits.
My ID card scan has poor lighting — what can I do?
Make sure the card is on a flat, evenly lit surface with no shadows. Use daylight or a white background. After scanning, use the Merge ID Card tool to combine both sides cleanly before compressing. A well-lit scan compresses much more efficiently than a dark or blurry one.
How do I know if I am losing too much quality?
A practical test: after compressing, zoom the image to 100% in your browser and look at any text on the image (like the name on an ID card). If it is still clearly readable, the quality is acceptable for official submission.
Quick Reference Cheat Sheet
| Use Case | Resize To | Compress Quality |
|---|---|---|
| Visa/passport photo | 600×800px | 70–80% |
| CNIC / ID card scan | 1200px wide | 75–80% |
| Job portal profile photo | 800×800px | 75–85% |
| University admission photo | 600×600px | 70–80% |
| WhatsApp / social photo | 1200–1600px | 80–85% |
| Document scan (for PDF) | 1200px wide | 70–75% |